Hungarian Walnut Cake
Posted: March 20, 2026 Filed under: Cakes, Dairy-free, Gluten-Free | Tags: cake, Dairy-free, gluten free, walnuts Leave a comment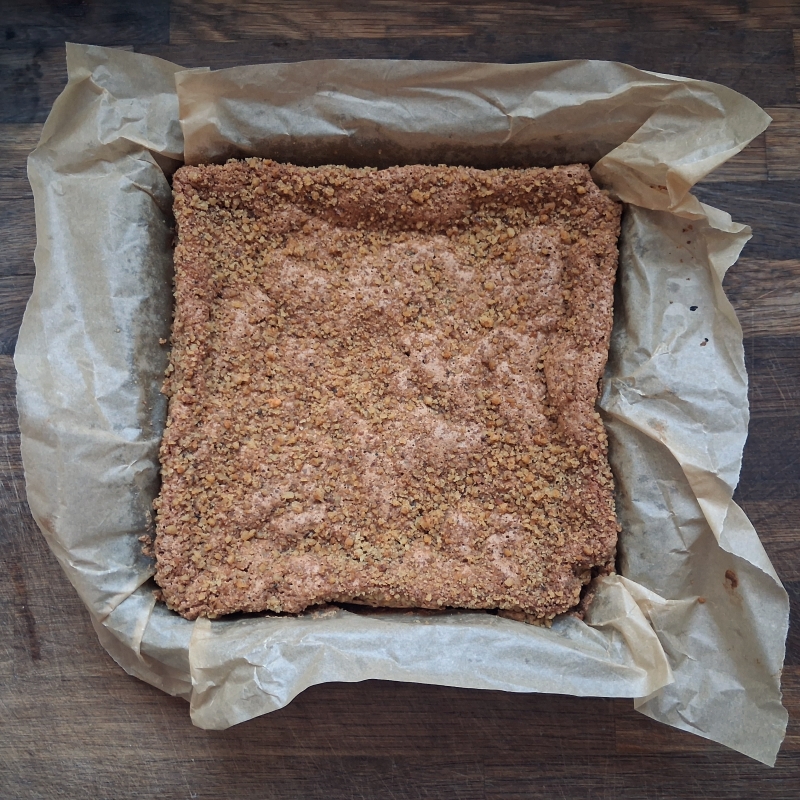
Wotchers!
I’ve posted a few Hungarian recipes here, over the years, and this is another great one. It comes from an old recipe book from the 1930s entitled “A MI SÜTEMÉNYES KÖNYVÜNK” (“OUR BAKING BOOK”) by József Váncza. Váncza’s family was in the business of manufacturing baking powder, and publishing the book was a savvy marketing move to encourage Hungarian housewives to buy his baking powder.
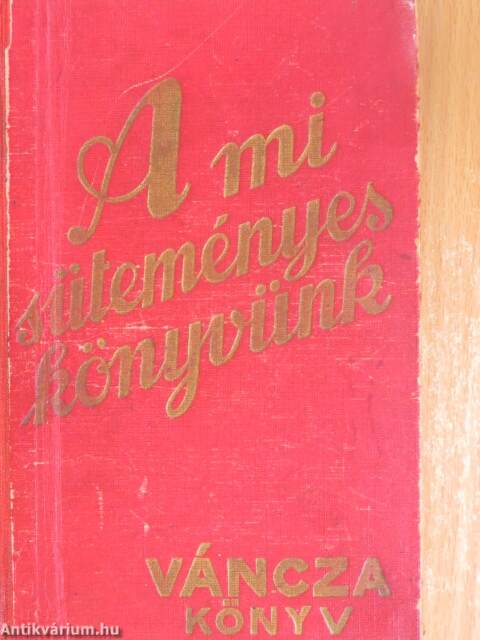
No-one knows who the author of the recipes but accompanied by his own simple line drawings, the recipes were straightforward to make and delicious to eat, ensuring the success of both the book and sales of baking powder. With it’s iconic red cover, the book has been reprinted many times even into the 21st century.
I discovered both this book and a wonderful project by a blogger named Monika Budai. Back in 2012, in a move similar to the more well known Julie/Julia blog, Monika decided to bake every single recipe in “Our Baking Book”, photograph it and write a line or two about her experiences. This magnificent project took a full year and a grand total of 465 recipes. The recipes, photographs and commentary can still be browse online HERE. Go admire her amazing efforts!
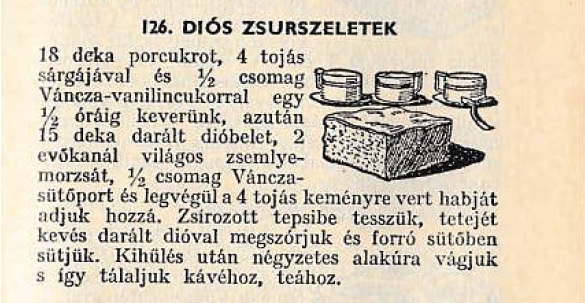
The original Walnut Cake recipe, with line drawings by the author.
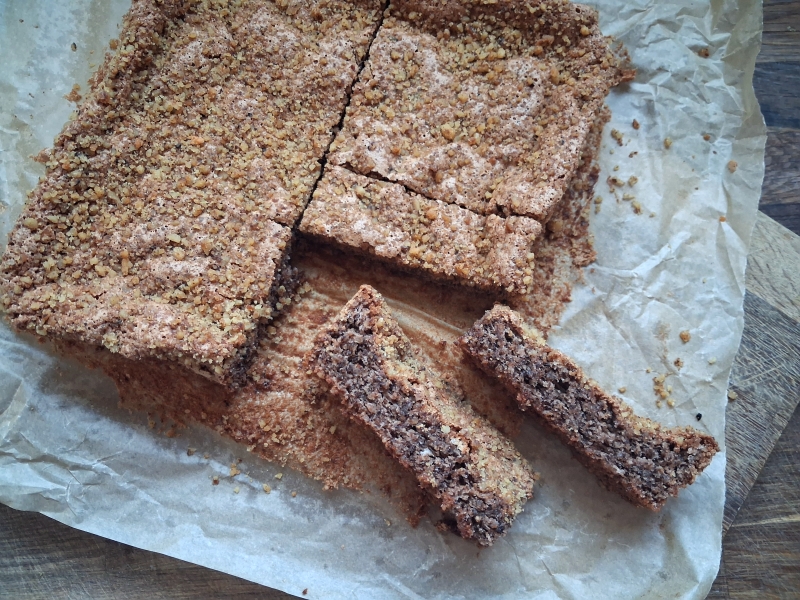
I was drawn to this recipe, after browsing many, many others, as it seemed similar to the British classic Coffee and Walnut Cake. Monika’s verdict on this recipe is “A simple, easy-to-make walnut sponge cake that is really excellent with a good coffee.” I was also fascinated by the fact that it appeared to be held together by nothing more than sheer willpower. Seriously. There’s nothing there. Everything in my baker’s brain was telling me that this is not a cake, because all it has is a few breadcrumbs. I ended up adding a little cornflour to one of the versions, to try and keep the cake from ‘settling’ too much while cooling (you can see in the top photo how it looks when cooled), but even then, it comes out of the oven an incredibly light whisper of walnut sponge. The recipe below is gluten free – another bonus, but you can obviously use regular breadcrumbs – and you could always introduce some coffee buttercream if liked, but I rather like its unadorned simplicity, especially the crunchy, toasted walnut topping.
Hungarian Walnut Cake
4 large egg whites
180g icing sugar
4 large egg yolks
1 tsp vanilla paste/extract
200g walnuts – divided
4 tbs/ ¼ cup gluten-free breadcrumbs
1 tsp baking powder
2 tbs cornflour
- Line a 20cm square tin with parchment paper.
- Heat the oven to 175°C, 155°C Fan.
- Blitz the walnuts in a food processor using the ‘pulse’ feature until they resemble breadcrumbs.
- Measure out 50g of the chopped walnuts and set aside.
- Add the breadcrumbs, baking powder and cornflour to the rest of the ground walnuts and pulse a few more times to mix them thoroughly. Set aside.
- Whisk the egg-whites until stiff peaks. Set aside.
- Whisk together the yolks, icing sugar and vanilla together until pale and creamy.
- Using a balloon whisk, or the whisk attachment from your stand mixer, stir in the walnut/breadcrumb mixture.
- Fold in 1/3 of the beaten egg whites (still using the whisk), then add the rest and stir until well combined.
- Pour the mixture into the prepared tin and smooth over.
- Sprinkle the remaining ground walnuts evenly over the top of the cake mixture.
- Bake for 45 minutes. This cake is very fragile until fully baked, so there’s no turning the tin around mid-way through.
- Remove from the oven and allow to cool in the tin.
- Slice when cold.
